![]()
![]()
![]()
![]()
![]()
![]()
![]()
![]()
![]()
![]()
![]()
![]()
![]()
![]()
![]()
Boat: Rhumb Do.
I had often thought of fitting radar to Rhumb Do, but cost and practical inexperience of radar kept it on low priority. However, after some research into small units, and having used radar to great effect whilst delivering Slip Anchor from Spain to Cyprus, I eventually decided to 'have a go' at fitting one.
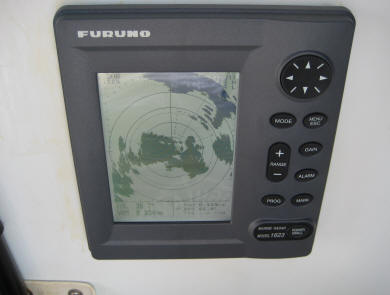
I chose the simple Furuno 1623 which has a small black and white display screen rather than a more expensive all singing and dancing colour version, buying it at the London International Boat Show and struggling back to Turkey with it as excess baggage, the costs of that being offset by being able to reclaim the VAT paid as I was exporting it to a non-EU country.
I intended to fit the display as a 'stand alone' unit - the KISS principle ('keep it simple, stupid') - though it is possible to link it to such things as depth sounder, chartplotter, AIS etc. I also decided to fit the display head in the cockpit rather than at the chart table, figuring that I would be 'up there' rather than below deck should it be foggy or conditions dictated that radar was needed. The scanner, or radome, I would fit on the mast - it's a compromise as usual - on the mast you are adding weight aloft and will get a blind spot caused by the mast itself whereas fitting it on the stern arch will give less range, cast shadows on the solar panel and add to an already 'heavy' stern.
My main concerns would be; a) running the fairly substantial cable down inside the mast, and b) giving the display head some protection from the elements.
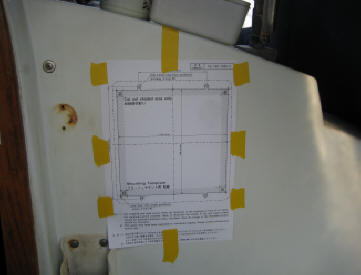
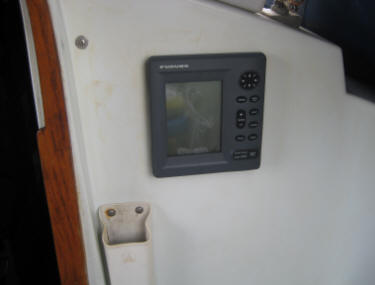
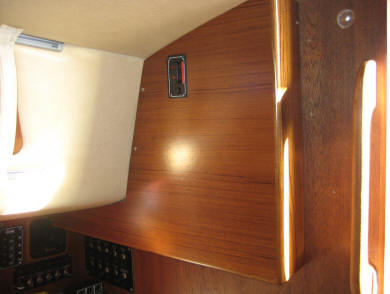
Mounting the display head to the starboard side of the companionway, I firstly removed the existing grab rail and taped the 'cut-out' template in place, drilled the corners and then cut out the required aperture using a jig-saw. This bulkhead is about 20mm thick.
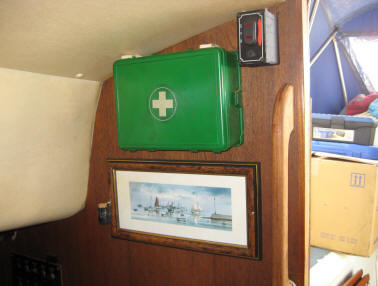
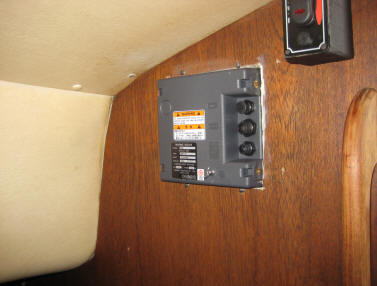
In the saloon, on the rear of the bulkhead, I removed the first aid box and picture. I have always disliked the engine ignition relay switch and would do away with the ugly black box, mounting the switch directly into the new 'radar box'.
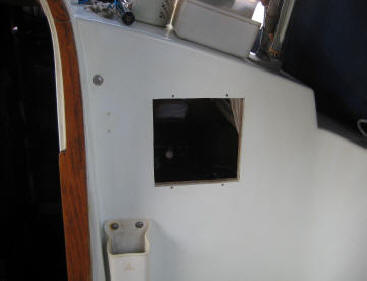
I then mounted the display head, securing with four screws through holes already drilled when cutting out the "new saloon window"
Next came the 'fun' part! Running electrical connections and new cables though a boat is never easy unless it's a modern boat with conduits and ample space to add extra wiring. 'Rhumb Do' is not such a boat - built in 1977, all the interior was finished before the deck was added and consequently it is very difficult to retro fit equipment without major upheaval of the interior. The cable which connects both display and radome (scanner) is 12mm in diameter and at the inboard end is fitted with a moulded multi-pin plug which clearly cannot be removed. The scanner end has two moulded 'flat' connectors which would be impossible to pass through a deck gland or down the inside of the mast.
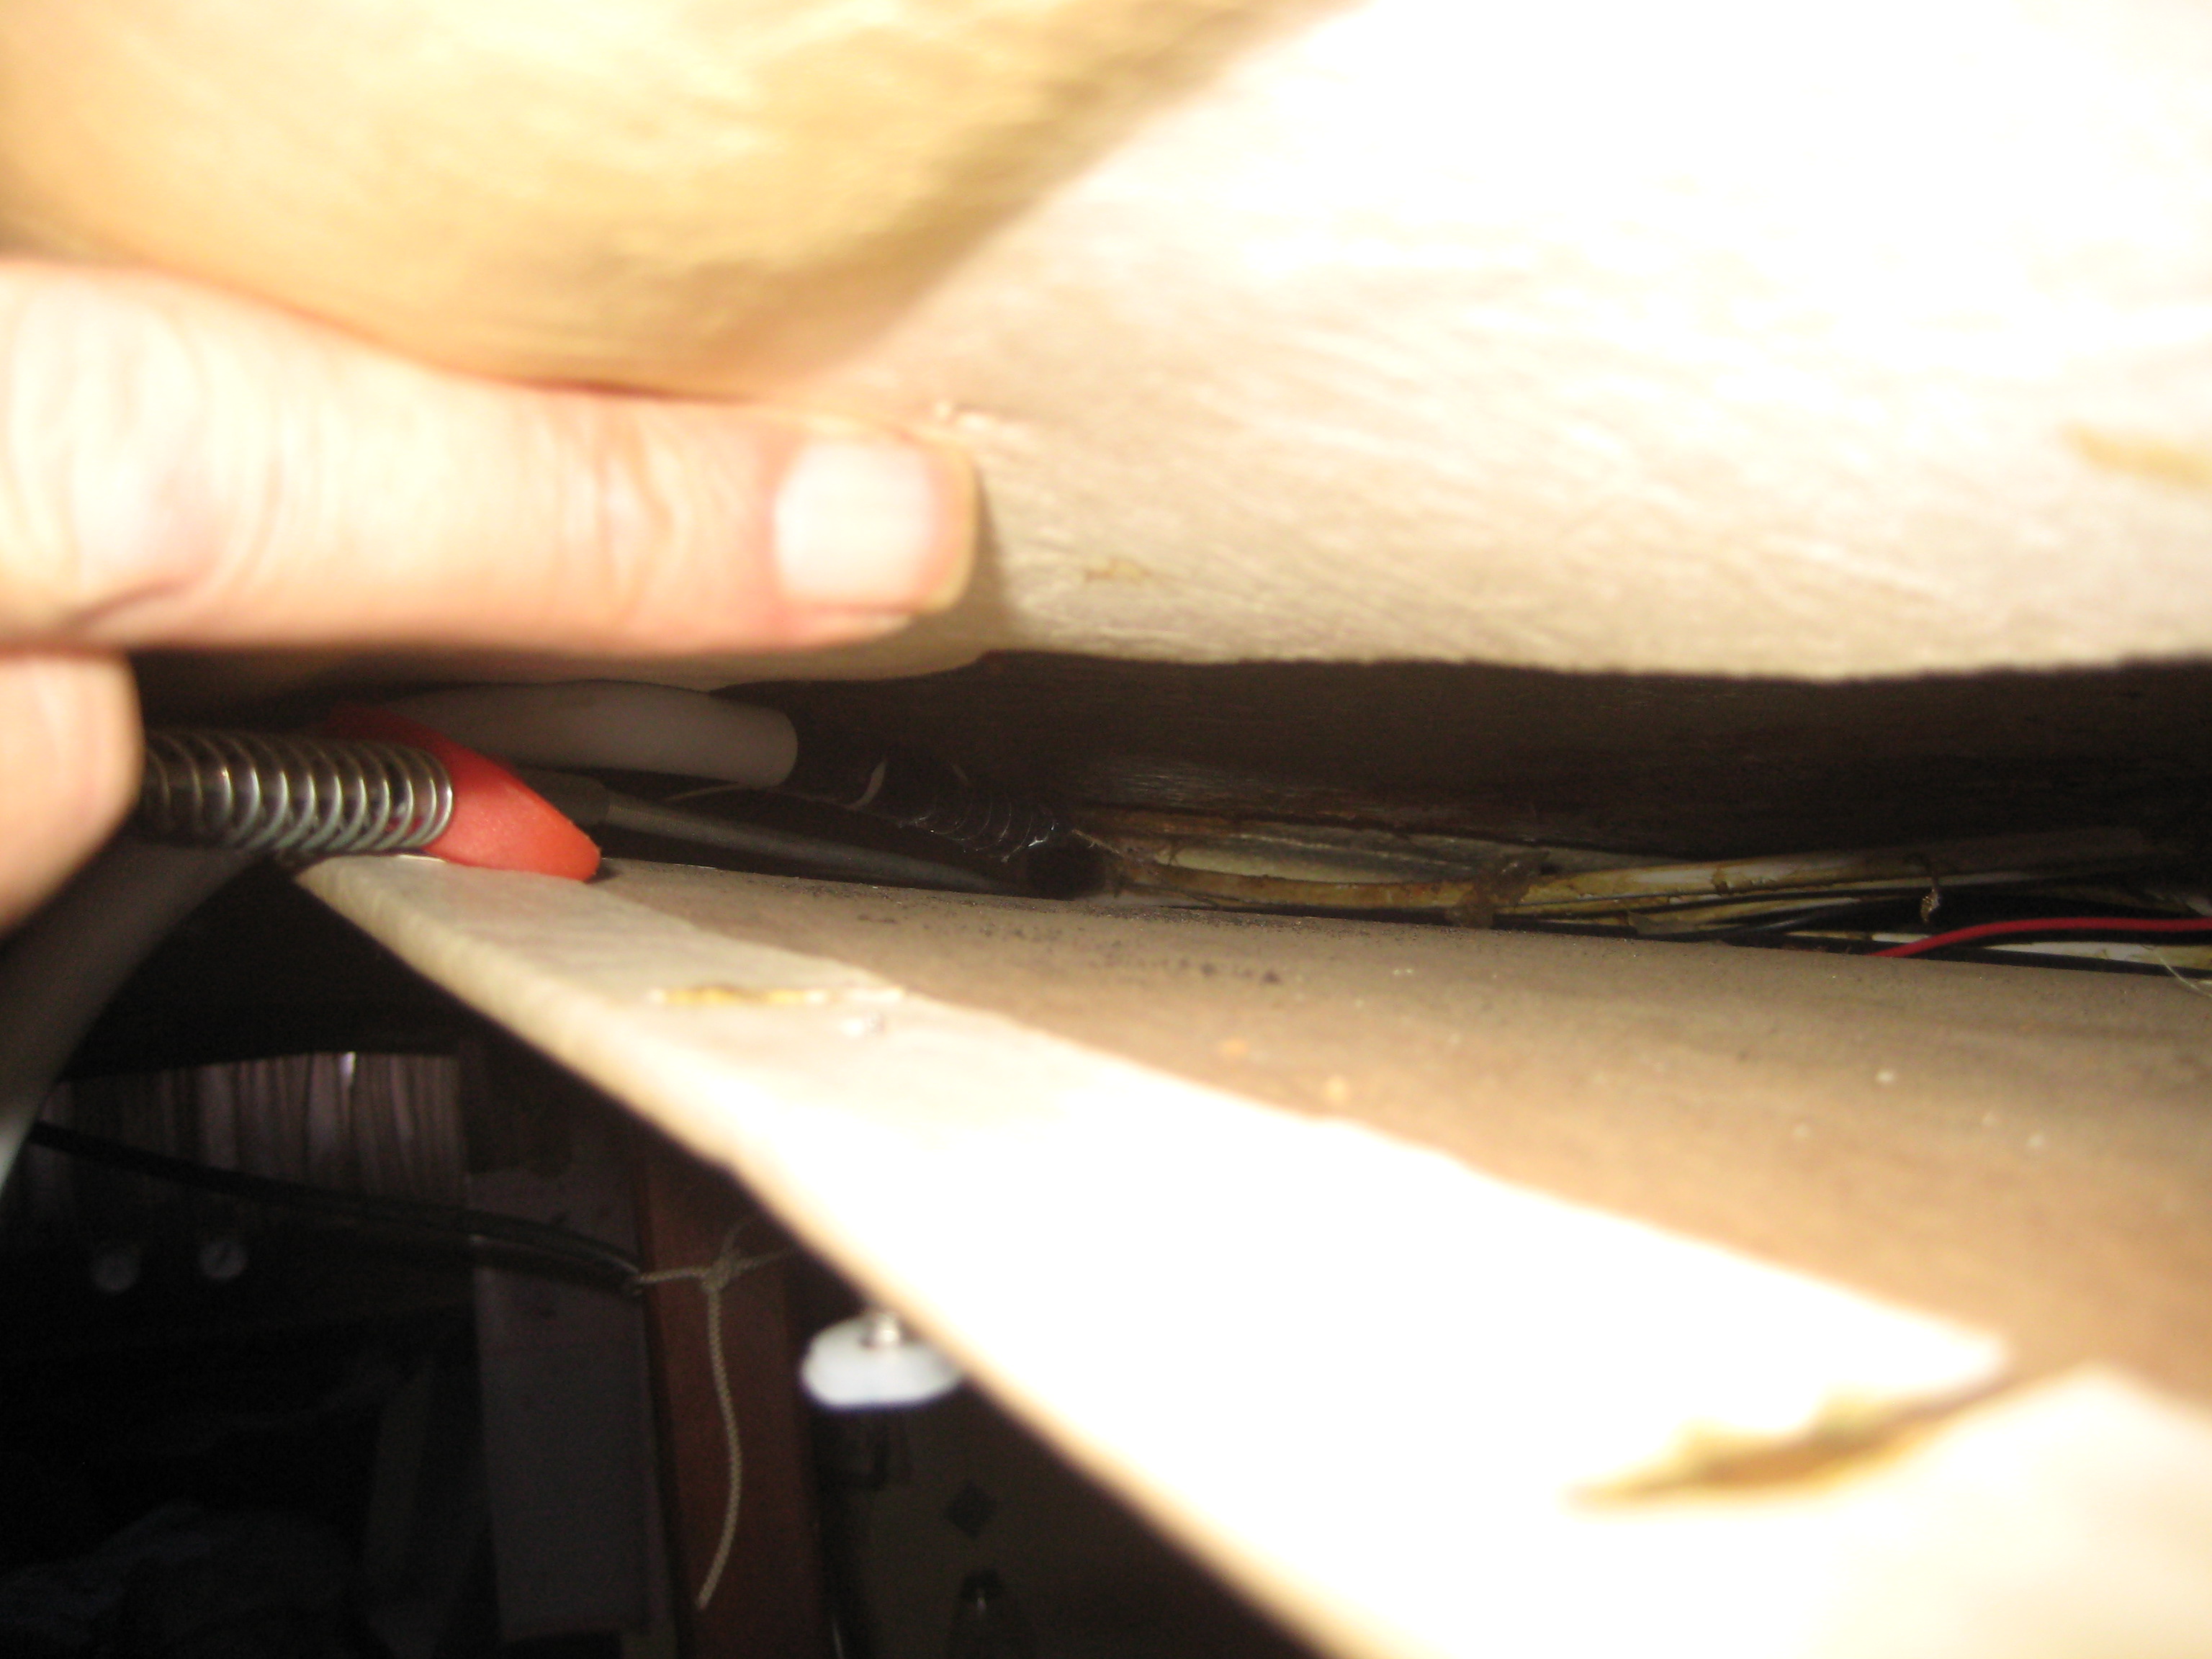
The only way I could run this cable was to cut it - leaving the inboard end long enough to reach the foot of the mast when passed through the small space between the saloon head lining and the coachroof. This would leave me with the scanner end of the cable (connections intact), long enough to pass the cut end down inside the mast, through a deck gland and reconnect to the other cut end. Removal of the head lining wasn't possible for several reasons, so a 'mouse' was run with which to pull the cable through approx 2 metres of lining.........a whole day's job!
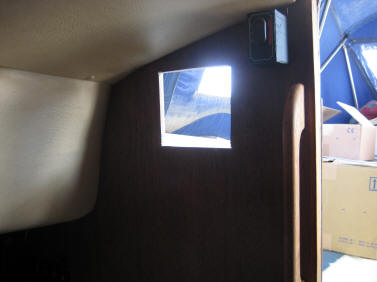
Left....very little space in which to work when passing the cable through the head lining.
After much cursing and many cuts and bruises on my hands, I eventually finished running the scanner and display supply cables, renewing and re-routing of the engine ignition cable and concealed all behind the new casing, held in place with four screws for ease of removal at later dates.
Now for the scanner part of the installation.
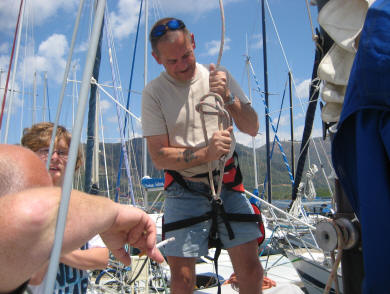
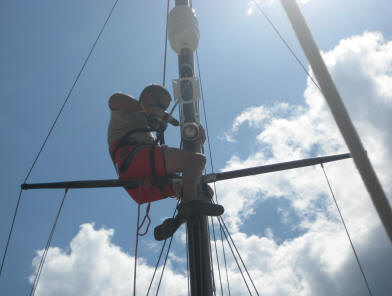
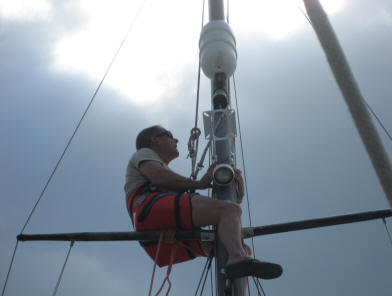
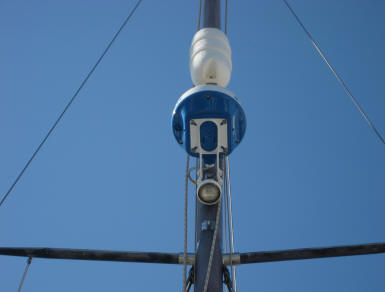
Roger winched me up the mast with Astrid and Jordan 'tailing' the uphaul and safety lines. Fitting the scanstrut bracket was the first requirement, rivetting it to the front of the mast with 12 monel 5mm rivets and a good few dollops of Duralac.
Running the cable down inside the mast was a headache. I wasn't expecting there to be an aluminium conduit in a mast of this age, but there is.....and it's only 6mm from the front face of the mast, which meant I was unable to run the 12mm cable alongside the conduit and I was extremely reluctant to drill into the conduit for fear of damaging the cables already inside it.
I decided to plate over the 13mm hole already drilled in the front of mast and make a second hole around the stbd side, behind the conduit, dropping the cable down with the help of a mouse weighted by a length of bicycle chain. Once that was done, I just needed to drill a similar hole in the deck and pass the cable through a deck gland and connect up to the cable from the display head.
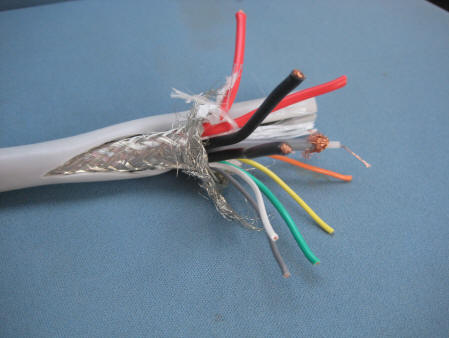
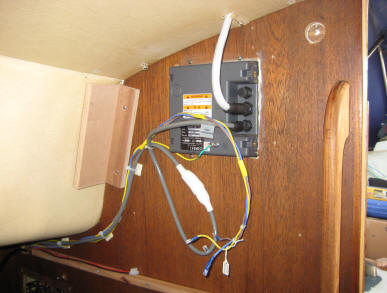
The data cable is armoured braid and there are ten wires inside which were all connected with ferrules, heat shrink and a 'chocolate block.'
What I didn't realise at the time - the small diameter grey wire at the centre of this photo, is actually a co-ax cable (as can be seen) and needs to be connected as such, so when I powered up the unit for the first time, everything came on, the scanner rotated, the display illuminated.....but there were no 'targets' displayed! Having sussed out the problem, it was an easy job to rectify my mistake and hey presto, a working radar! Calibrating it will again have to wait until I'm out of the marina and away from the hundreds of nearby target echoes.